So, you've heard about Raspberry Pi cloud management, right? But what exactly is it, and why should you care? Well, imagine having your own personal cloud server that you can control, customize, and use for anything from file storage to running complex applications. Sounds cool, huh? With a Raspberry Pi, you can turn this dream into reality without breaking the bank. This little device is more powerful than you think, and with the right tutorial, you’ll be up and running in no time.
Let’s face it, cloud computing isn’t just for big tech companies anymore. Regular folks like you and me are jumping on the bandwagon because it makes life easier. Whether you’re a tech enthusiast, a hobbyist, or someone who just wants to learn something new, Raspberry Pi cloud management is a game-changer. It’s like having a tiny data center in your pocket!
In this tutorial, we’re going to break down everything you need to know about setting up your Raspberry Pi as a cloud server. From the basics to advanced tips, we’ll cover it all. By the end of this guide, you’ll not only understand how it works but also how to make it work for you. So grab your Pi, pour yourself a cup of coffee, and let’s dive in!
Read also:20803bish1251312531124961254012398124501248412467653063875020844382831239824180408021239212381123983327507123983655636321
What is Raspberry Pi Cloud Management?
Alright, let’s start with the basics. Raspberry Pi cloud management refers to using a Raspberry Pi device to host and manage your own cloud services. Think of it as having a mini server at home that you can use to store files, run applications, or even host websites. The best part? It’s super affordable compared to renting a cloud server from big providers like AWS or Google Cloud.
Here’s the deal: Raspberry Pi is a single-board computer that’s small, cheap, and packed with potential. With the right software and setup, you can turn it into a fully functional cloud server. This means you can access your files and applications from anywhere, just like you would with a traditional cloud service, but with more control and privacy.
Why Choose Raspberry Pi for Cloud Management?
There are plenty of reasons why Raspberry Pi is a great choice for cloud management. First off, it’s affordable. You can get a Raspberry Pi for under $50, which is a fraction of the cost of renting a cloud server. Second, it’s energy-efficient. Unlike traditional servers that guzzle power, Raspberry Pi consumes very little electricity, making it an eco-friendly option.
Plus, it’s super customizable. You can tweak and adjust your setup to fit your specific needs. Whether you want to use it as a file server, media server, or even a development environment, Raspberry Pi has got you covered. And let’s not forget the community support. There’s a huge community of Raspberry Pi enthusiasts out there who are always willing to help and share their knowledge.
Getting Started with Raspberry Pi Cloud Management
Now that you know what Raspberry Pi cloud management is and why it’s awesome, let’s talk about how to get started. The first step is, of course, getting your hands on a Raspberry Pi. You’ll also need a few other things, like a microSD card, a power supply, and maybe a case to protect your Pi. Once you have all the hardware, it’s time to set up the software.
Here’s a quick list of what you’ll need:
Read also:25163349552080812398260321237512356124881252412531124896530619990300283034012394244333891112392123811239832972244601239512354124272928935486
- Raspberry Pi (any model will do, but Pi 4 is recommended)
- MicroSD card (16GB or higher)
- Power supply (make sure it’s compatible with your Pi model)
- Case (optional but recommended)
- Keyboard and mouse (you can use wireless ones if you prefer)
- HDMI cable and monitor (for initial setup)
Choosing the Right Operating System
One of the most important decisions you’ll make is choosing the right operating system for your Raspberry Pi. There are several options available, but for cloud management, you’ll want to go with something lightweight and efficient. Popular choices include Raspberry Pi OS Lite, Ubuntu Server, and DietPi.
Each of these operating systems has its own strengths. Raspberry Pi OS Lite is great for beginners because it’s easy to set up and has a lot of community support. Ubuntu Server is a bit more advanced but offers more flexibility and compatibility with cloud services. DietPi is another lightweight option that’s perfect for resource-constrained environments.
Setting Up Your Raspberry Pi as a Cloud Server
Once you have your hardware and software ready, it’s time to set up your Raspberry Pi as a cloud server. This process involves a few steps, but don’t worry, we’ll walk you through each one. First, you’ll need to install the operating system on your microSD card. Then, you’ll configure the network settings and install the necessary software to turn your Pi into a cloud server.
Here’s a step-by-step guide:
- Download the operating system image from the official website.
- Use a tool like Balena Etcher to flash the image onto your microSD card.
- Insert the microSD card into your Raspberry Pi and power it on.
- Connect to your Pi via SSH or use a monitor and keyboard for initial setup.
- Update the operating system and install any required packages.
- Set up your cloud services (we’ll cover this in more detail later).
Configuring Network Settings
One of the most critical steps in setting up your Raspberry Pi cloud server is configuring the network settings. You’ll want to make sure your Pi is connected to your home network and can be accessed from other devices. This usually involves setting a static IP address and configuring port forwarding on your router.
Here’s how you can do it:
- Log in to your router’s admin interface.
- Find the DHCP settings and reserve an IP address for your Raspberry Pi.
- Set up port forwarding for the ports you’ll be using (e.g., 22 for SSH, 80 for HTTP, 443 for HTTPS).
- Test the connection to make sure everything is working as expected.
Installing Cloud Services on Raspberry Pi
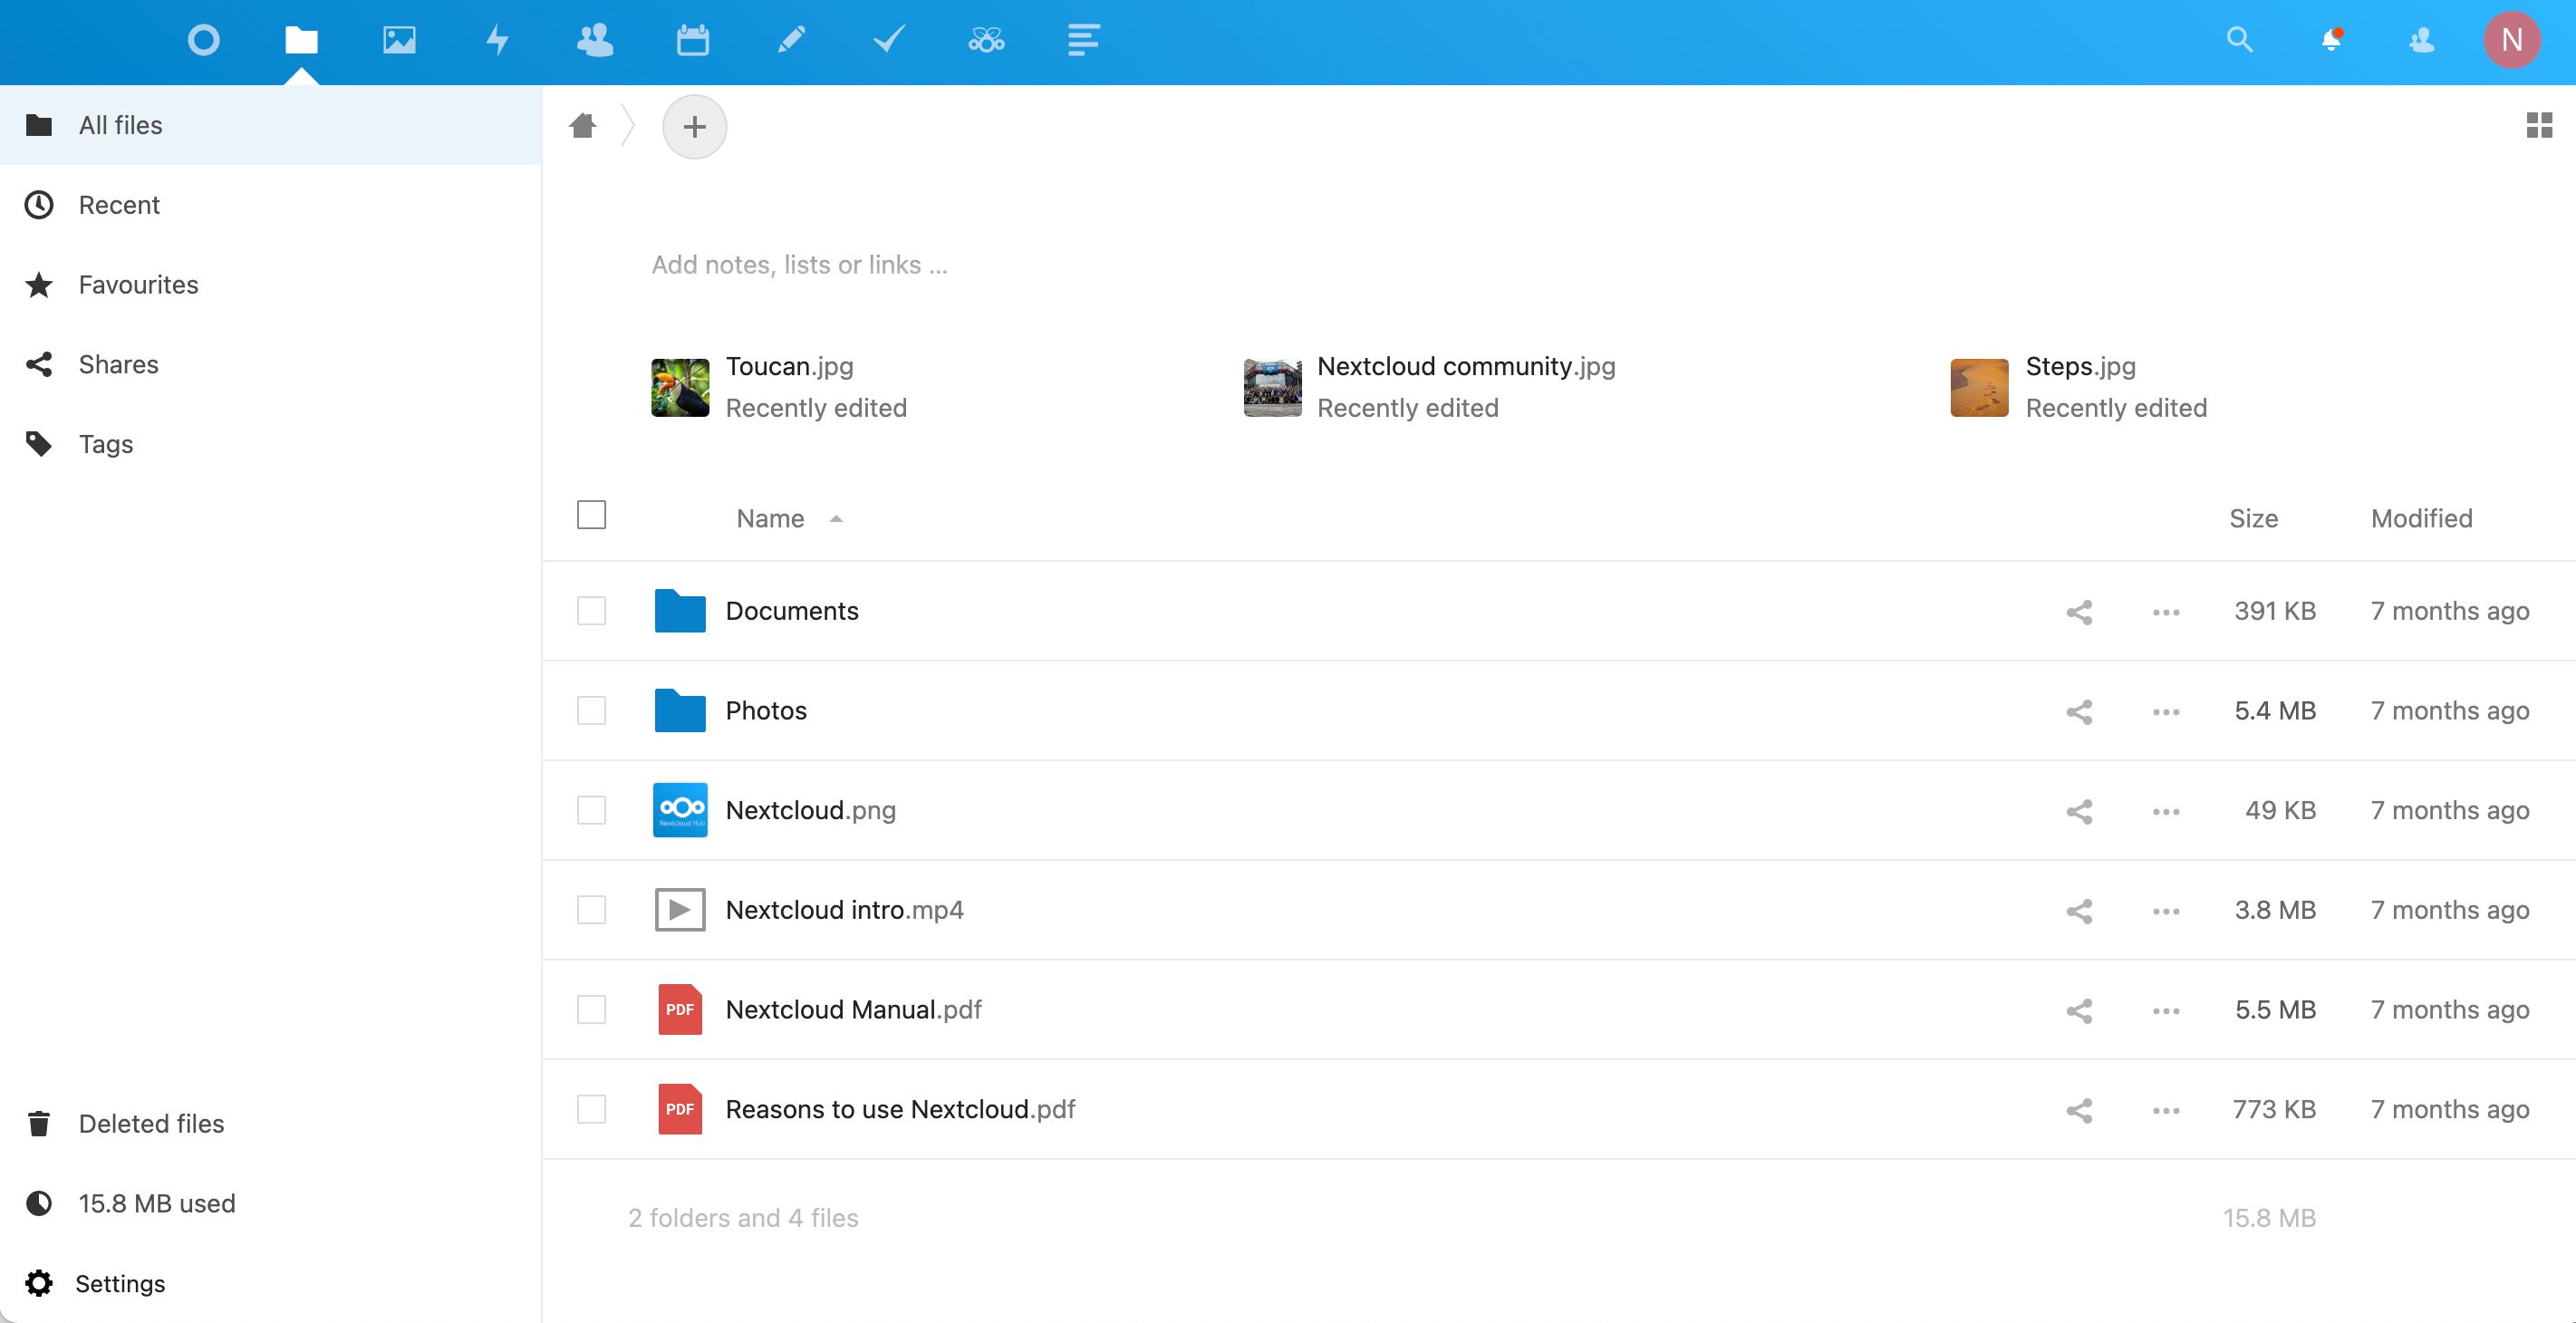
With your Raspberry Pi set up and network configured, it’s time to install the cloud services you’ll be using. There are several options available, depending on your needs. Some popular choices include Nextcloud, OwnCloud, and Syncthing. These services allow you to store and sync files, share them with others, and access them from anywhere.
Let’s take a closer look at Nextcloud, which is one of the most popular cloud solutions for Raspberry Pi:
Why Choose Nextcloud?
Nextcloud is an open-source cloud solution that offers a wide range of features, including file storage, calendar, contacts, and more. It’s easy to install and configure, and it integrates well with other services. Plus, it’s completely under your control, which means you don’t have to worry about data privacy issues.
Here’s how to install Nextcloud on your Raspberry Pi:
- Update your operating system using the command
sudo apt update && sudo apt upgrade. - Install the necessary dependencies, such as PHP, MySQL, and Apache.
- Download and extract the Nextcloud package from the official website.
- Follow the installation wizard to complete the setup.
- Access your Nextcloud instance via a web browser and start using it.
Securing Your Raspberry Pi Cloud Server
Security is a top priority when setting up a cloud server, and your Raspberry Pi is no exception. You’ll want to take steps to protect your data and ensure that your server is secure from potential threats. This includes setting up firewalls, using strong passwords, and keeping your software up to date.
Here are some security tips to keep in mind:
- Enable a firewall to block unwanted traffic.
- Use strong, unique passwords for all accounts.
- Regularly update your operating system and installed packages.
- Consider using two-factor authentication for added security.
Backing Up Your Data
Another important aspect of cloud management is backing up your data. You don’t want to lose all your files if something goes wrong with your Raspberry Pi. There are several ways to back up your data, including using external drives, cloud storage services, or even another Raspberry Pi.
Here’s how you can set up automatic backups:
- Install a backup tool like rsync or Duplicati.
- Configure the tool to back up your data to an external drive or cloud storage.
- Schedule regular backups to ensure your data is always safe.
Troubleshooting Common Issues
Even with the best setup, you might encounter some issues along the way. Don’t worry, though—most problems are easy to fix with a bit of troubleshooting. Here are some common issues and how to solve them:
- Can’t connect to the Raspberry Pi: Make sure your network settings are correct and try restarting your router.
- Nextcloud not working: Check the logs for errors and make sure all dependencies are installed.
- Performance issues: Try optimizing your setup by disabling unnecessary services or upgrading your hardware.
Optimizing Performance
Speaking of performance, there are several ways to optimize your Raspberry Pi cloud server for better performance. This includes tweaking the operating system settings, using lightweight applications, and ensuring your Pi has enough resources to handle the workload.
Here are some optimization tips:
- Disable unnecessary services and daemons.
- Use lightweight applications and services whenever possible.
- Consider upgrading your Pi with more RAM or a faster microSD card.
Conclusion
And there you have it—a comprehensive guide to Raspberry Pi cloud management. By following this tutorial, you should now have a good understanding of how to set up and manage your own cloud server using a Raspberry Pi. From choosing the right hardware and software to securing your data and optimizing performance, we’ve covered all the essential steps.
Remember, the key to success with Raspberry Pi cloud management is experimentation and learning. Don’t be afraid to try new things and explore different options. And if you run into any issues, don’t hesitate to reach out to the Raspberry Pi community for help.
So what are you waiting for? Grab your Pi, follow this tutorial, and start building your own cloud today. And when you’re done, don’t forget to share your experience with others. Who knows, you might inspire someone else to take the leap and try it for themselves!
Table of Contents
- What is Raspberry Pi Cloud Management?
- Why Choose Raspberry Pi for Cloud Management?
- Getting Started with Raspberry Pi Cloud Management
- Choosing the Right Operating System
- Setting Up Your Raspberry Pi as a Cloud Server
- Configuring Network Settings
- Installing Cloud Services on Raspberry Pi
- Securing Your Raspberry Pi Cloud Server
- Backing Up Your Data
- Troubleshooting Common Issues