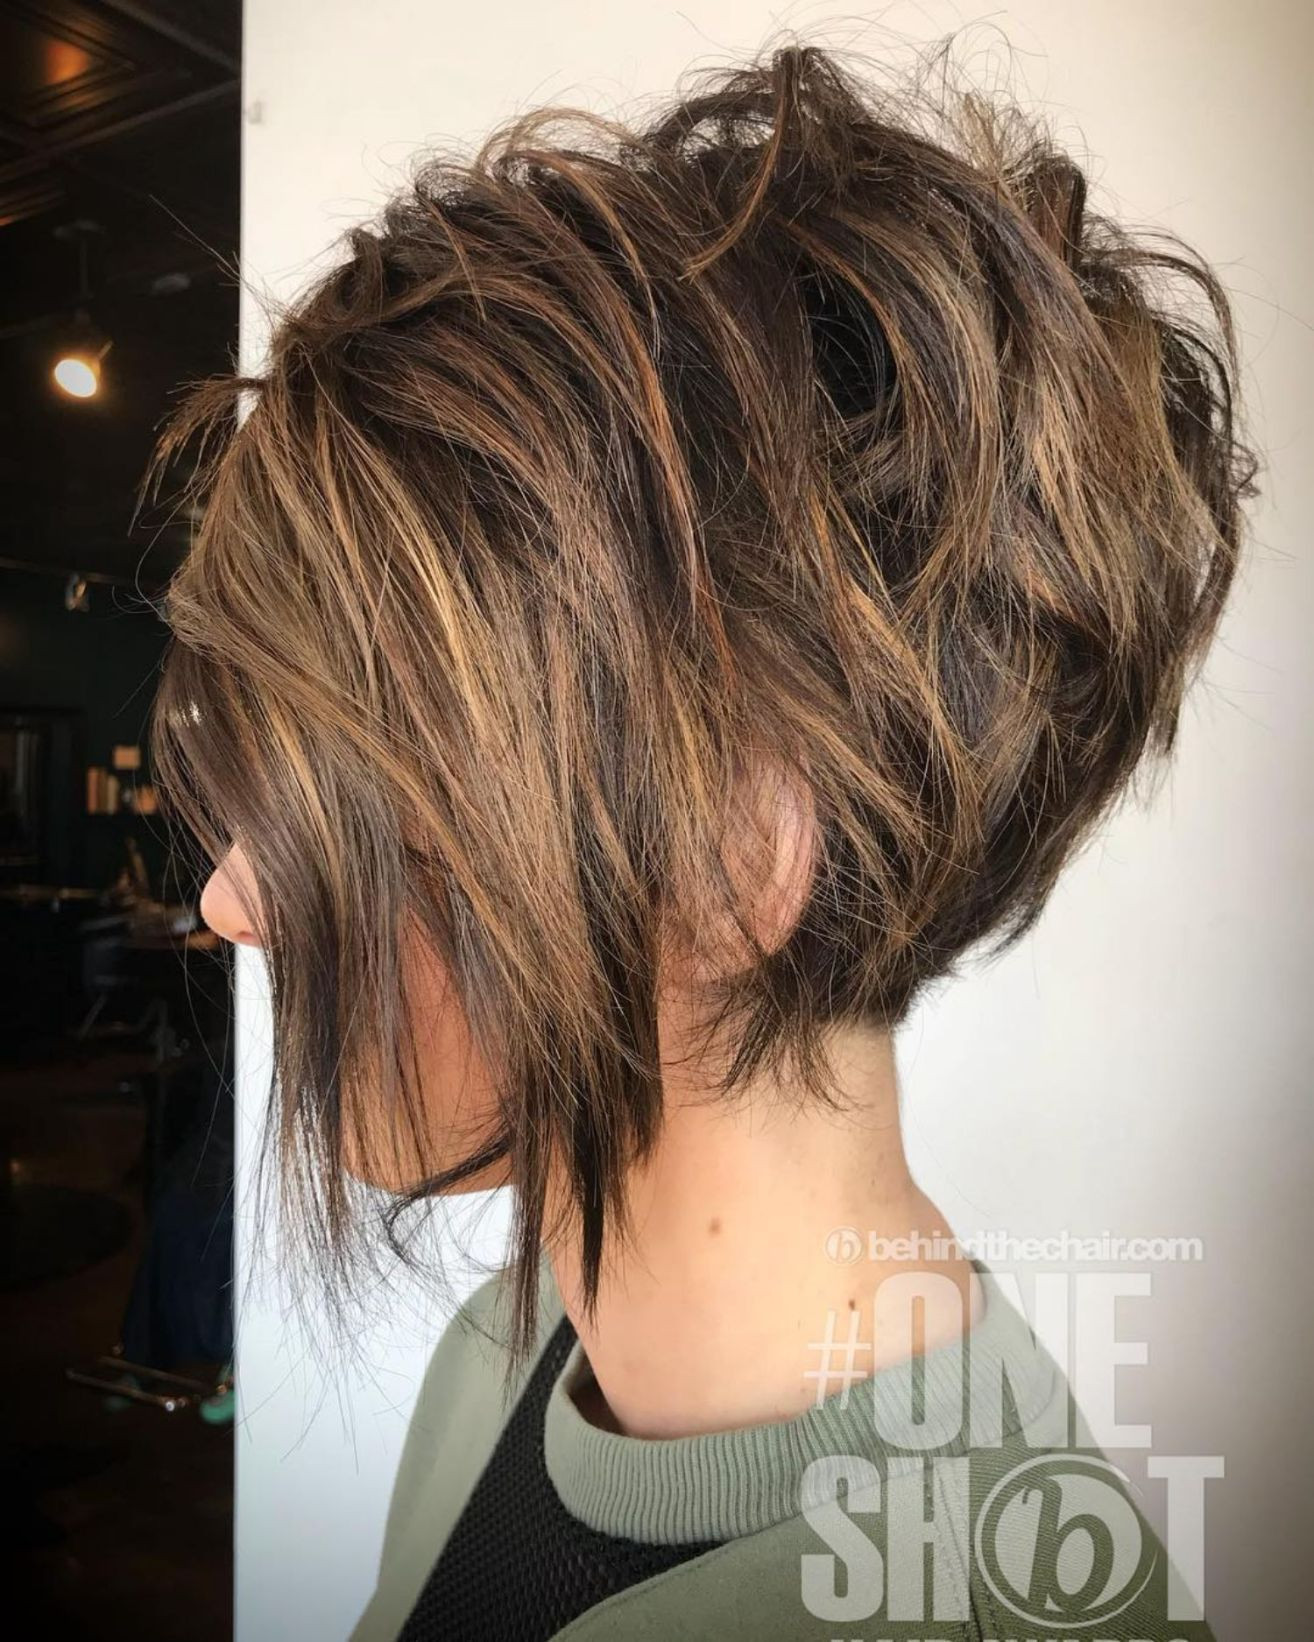
Are you ready to transform your hair into a chic and effortless masterpiece? The shaggy bob has taken the hairstyling world by storm, offering a versatile and low-maintenance look that suits all hair types. Whether you’re a seasoned hairstyling enthusiast or a beginner looking to try something new, mastering the DIY shaggy bob is easier than you might think. In this comprehensive guide, we’ll walk you through everything you need to know to achieve this trendy hairstyle at home, step by step. From choosing the right tools and products to maintaining your shaggy bob, we’ve got you covered.
The shaggy bob isn’t just about cutting your hair; it’s about embracing a lifestyle that values simplicity and confidence. This hairstyle is perfect for those who want to look polished without spending hours in front of the mirror. With its layered structure and effortless texture, the shaggy bob offers a natural look that works with your hair’s natural flow. By the end of this guide, you’ll have the knowledge and skills to create a stunning DIY shaggy bob that suits your unique personality and style.
Optimizing your hairstyling journey doesn’t stop with just cutting your hair. You’ll also learn how to maintain your shaggy bob, troubleshoot common issues, and keep your locks healthy and vibrant. Whether you’re working with curly, straight, or wavy hair, this guide will provide you with actionable tips and tricks to ensure your DIY shaggy bob remains fresh and fabulous. So, let’s dive in and discover how you can master the art of effortless styling!
Read also:124641252212540125311245012483125031252312511125171254012472124831246312398199903002865306228232686220803360201239220117199783348923376123981246712521125081252412540124711251912531123951242412427123002885725551123982176412301
Table of Contents
- 1. Why Choose a Shaggy Bob for Effortless Style?
- 2. What Tools and Products Do You Need?
- 3. How to Master the DIY Shaggy Bob: Step-by-Step Guide
- 4. How Long Should Your Shaggy Bob Be?
- 5. Should You Layer Your Shaggy Bob?
- 6. Maintaining Your Shaggy Bob: Tips for Long-Lasting Results
- 7. Common Mistakes to Avoid When Cutting a Shaggy Bob
- 8. FAQs About the DIY Shaggy Bob
Why Choose a Shaggy Bob for Effortless Style?
The shaggy bob has become a go-to hairstyle for women (and men!) who crave a look that’s both stylish and low-maintenance. Unlike more structured cuts, the shaggy bob embraces natural texture and movement, making it an ideal choice for those who want to reduce their styling time while still looking great. This hairstyle works beautifully with various hair types, from fine and straight to thick and curly, thanks to its layered structure and versatility.
One of the key reasons why the shaggy bob stands out is its ability to adapt to your lifestyle. Whether you’re heading to the office, meeting friends for brunch, or enjoying a weekend getaway, this cut effortlessly transitions from casual to chic. Plus, it’s incredibly forgiving, meaning you don’t have to worry about perfecting every strand. The slightly disheveled, lived-in appearance adds to its charm, making it a favorite among celebrities and hairstyling experts alike.
Another advantage of the shaggy bob is its adaptability. You can style it in countless ways, from sleek and smooth to tousled and beachy. Experimenting with different looks is part of the fun, and because the cut is designed to enhance your natural hair texture, you’ll find that it requires minimal product use. This not only saves you time but also reduces the strain on your hair, keeping it healthier in the long run.
What Tools and Products Do You Need?
Before you dive into cutting your shaggy bob, it’s essential to gather the right tools and products. Having the correct equipment will make the process smoother and help you achieve professional results. Here’s a list of what you’ll need:
- Haircutting Shears: Invest in a high-quality pair of haircutting shears. Avoid using regular scissors, as they can damage your hair and result in uneven cuts.
- Comb: A fine-tooth comb is crucial for sectioning your hair and ensuring precision during the cutting process.
- Sectioning Clips: These will help you manage your hair while you work on specific sections.
- Hair Spray: Use a light-hold hairspray to control flyaways and maintain your style after cutting.
- Texturizing Spray: This product adds volume and texture, enhancing the shaggy effect.
Having these tools on hand will ensure you’re prepared for every step of the cutting process. Remember, quality matters when it comes to hairstyling tools, so don’t skimp on purchasing reliable products.
How to Master the DIY Shaggy Bob: Step-by-Step Guide
Now that you have your tools and products ready, it’s time to get started on cutting your DIY shaggy bob. Follow this step-by-step guide to achieve a professional-looking result:
Read also:124901247312398290382802412375653062025332113303401239426085264121239821619352261239212381123982599121270303403297226223
- Wash and Dry Your Hair: Begin with clean, dry hair. This ensures you can see the natural texture and make accurate cuts.
- Section Your Hair: Divide your hair into manageable sections using clips. Start with the back layers and work your way up.
- Trim the Ends: Begin trimming the bottom layers first, gradually working your way up. Use your comb to ensure even cutting.
- Add Layers: Create layers by cutting at an angle. This adds volume and movement to your shaggy bob.
- Finish with Texturizing: Use your shears to add texture to the ends of your hair, giving it that effortless, shaggy look.
Take your time with each step, and don’t hesitate to trim a little at a time. It’s always easier to remove more hair than to add it back!
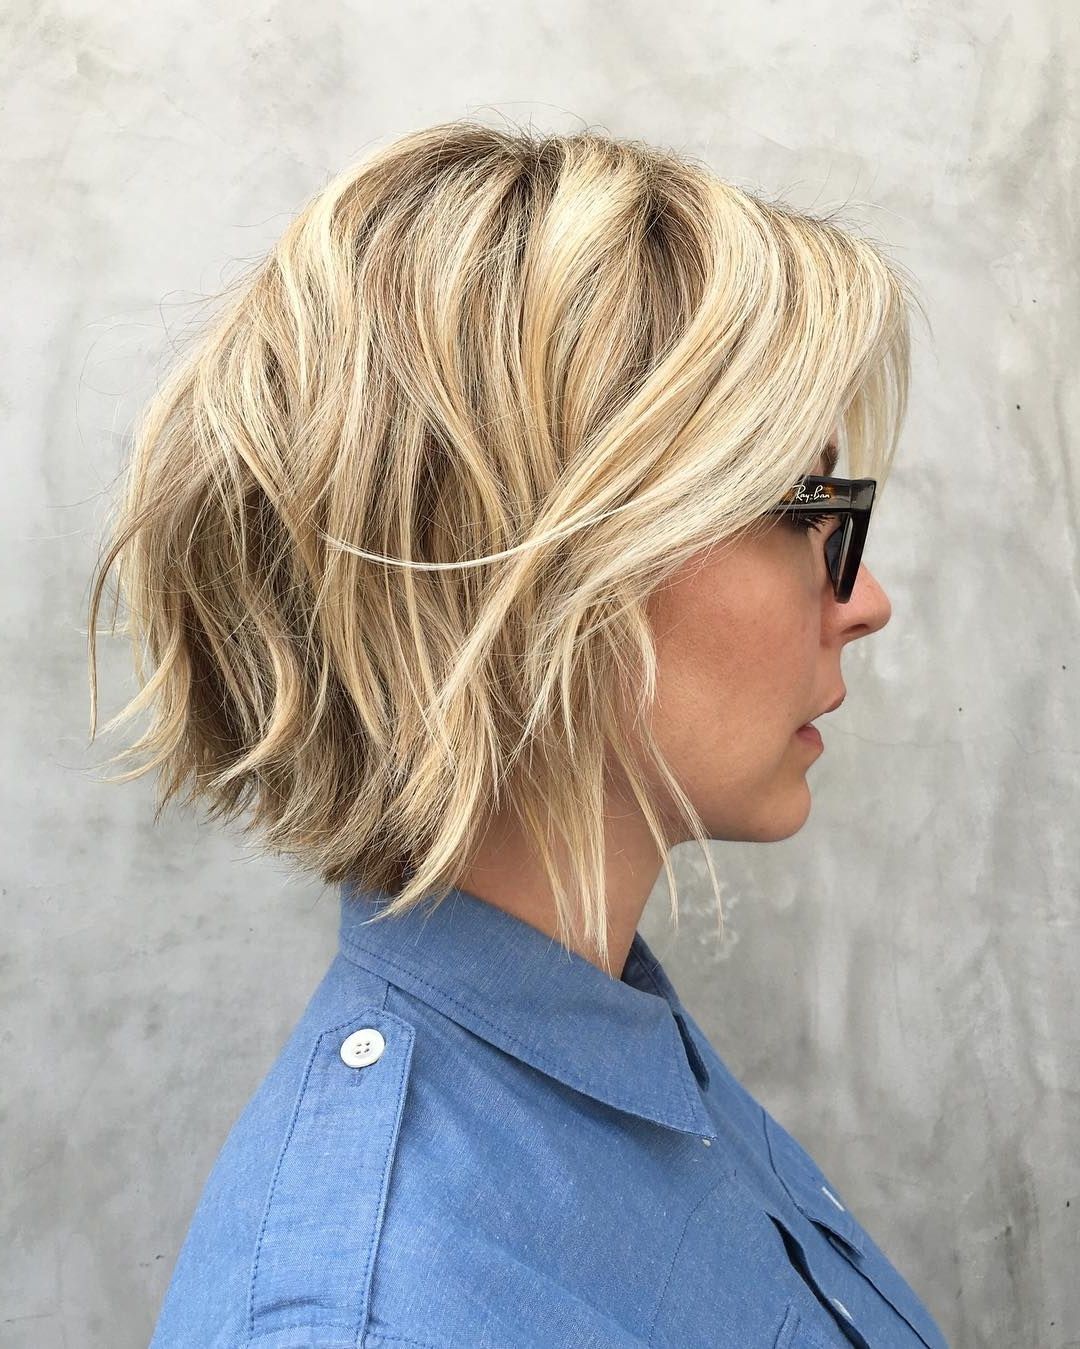
How Long Should Your Shaggy Bob Be?
One of the most common questions people ask when considering a shaggy bob is, “How long should it be?” The answer depends on your personal preference and face shape. A shaggy bob typically falls between chin-length and shoulder-length, but you can adjust the length to suit your style.
For a more dramatic look, consider a shorter bob that hits just above the chin. This style works well for those with round or square face shapes, as it adds definition and structure. If you prefer a longer look, opt for a shoulder-length shaggy bob. This length is ideal for those with oval or heart-shaped faces, as it softens angular features.
Ultimately, the length of your shaggy bob should reflect your personality and lifestyle. Don’t be afraid to experiment until you find the perfect length for you!
Should You Layer Your Shaggy Bob?
Layering is a crucial element of the shaggy bob, as it adds depth and movement to the hairstyle. Without layers, your shaggy bob might appear flat and lifeless. Layers allow your hair to move naturally, enhancing its texture and volume.
When layering your shaggy bob, aim for a graduated effect, where the layers gradually get shorter toward the bottom. This technique creates a seamless transition between the top and bottom sections of your hair, resulting in a more polished look. Additionally, layering helps distribute weight evenly, preventing your hair from looking too heavy or bulky.
If you’re unsure about how much layering to add, start with subtle layers and build from there. You can always add more layers later if needed. Remember, the goal is to achieve a natural, effortless look that complements your hair type and face shape.
Maintaining Your Shaggy Bob: Tips for Long-Lasting Results
Once you’ve achieved your desired shaggy bob, it’s important to maintain it properly to keep it looking fresh and vibrant. Regular upkeep will ensure your hairstyle remains healthy and stylish for months to come. Here are some tips for maintaining your shaggy bob:
- Wash Less Often: Over-washing can strip your hair of its natural oils, leading to dryness and frizz. Aim to wash your hair every two to three days to preserve its texture.
- Use Gentle Products: Choose shampoos and conditioners formulated for your hair type, and avoid products with harsh chemicals that can damage your strands.
- Protect Your Hair: When styling, use heat protectant sprays to shield your hair from damage caused by blow dryers and straighteners.
- Trim Regularly: Schedule regular trims every six to eight weeks to remove split ends and keep your shaggy bob looking sharp.
By incorporating these maintenance tips into your routine, you’ll ensure your shaggy bob stays looking its best for as long as possible.
Common Mistakes to Avoid When Cutting a Shaggy Bob
While cutting your own shaggy bob can be empowering, it’s important to be aware of common mistakes that could ruin your results. Here are a few pitfalls to avoid:
- Cutting Too Much at Once: Always trim small sections at a time to avoid over-cutting and uneven results.
- Not Sectioning Properly: Failing to section your hair can lead to uneven layers and an unbalanced look.
- Using Dull Shears: Dull scissors can cause split ends and uneven cuts, so always use sharp, high-quality shears.
- Ignoring Your Hair Type: Consider your hair’s natural texture and thickness when cutting, as this will affect how the layers fall.
Avoiding these common mistakes will help you achieve a professional-looking shaggy bob that you’ll love.
FAQs About the DIY Shaggy Bob
Can You Cut a Shaggy Bob Yourself?
Yes, you can cut a shaggy bob yourself with the right tools and technique. However, it’s important to proceed with caution and take your time to ensure even cuts and layers. Practice on a wig or doll’s hair before attempting it on your own hair if you’re new to hairstyling.
How Often Should You Trim Your Shaggy Bob?
It’s recommended to trim your shaggy bob every six to eight weeks to maintain its shape and remove split ends. Regular trims will also help keep your hair healthy and prevent damage.
Is the Shaggy Bob Suitable for All Hair Types?
The shaggy bob is versatile and works well with most hair types, including straight, wavy, and curly hair. However, those with extremely fine or thin hair may need to adjust the layering to avoid making their hair look too sparse.
Conclusion
Mastering the DIY shaggy bob is an exciting journey that allows you to express your creativity and embrace effortless style. By following the steps outlined in this guide, you’ll gain the confidence and skills needed to create a stunning shaggy bob that suits your unique personality and lifestyle. Remember to take your time, use quality tools, and maintain your hairstyle regularly to keep it looking fabulous. With dedication and practice, you’ll soon be a shaggy bob expert, turning heads wherever you go!
Now that you know how to master the DIY shaggy bob a complete guide to effortless style, it’s time to grab your shears and get started. Embrace your inner hairstylist and enjoy the freedom and versatility that the shaggy bob offers. Happy cutting!